The Blanchard Lathe · Volume 8
A Detailed Operation Run-Through
You asked for a step-by-step of how one of these was actually run, so here it is — a full operation walk-through from mounting the master to sweeping up the shavings. One caveat governs the whole volume: no single source gives a period “SOP” for this machine. What follows is a reconstruction built from the mechanical facts (Volume 3), the NPS woodworking descriptions, and generic woodworking physics, with every inferred step labeled as inference. Where the research lacks quantitative feeds and speeds, this volume says “we don’t know” rather than inventing numbers — because inventing shop numbers for a machine nobody has run in a century would be exactly the kind of confident fiction this series refuses.
8.1 Step 0: The Master Pattern (Done Once, Not Per Stock)
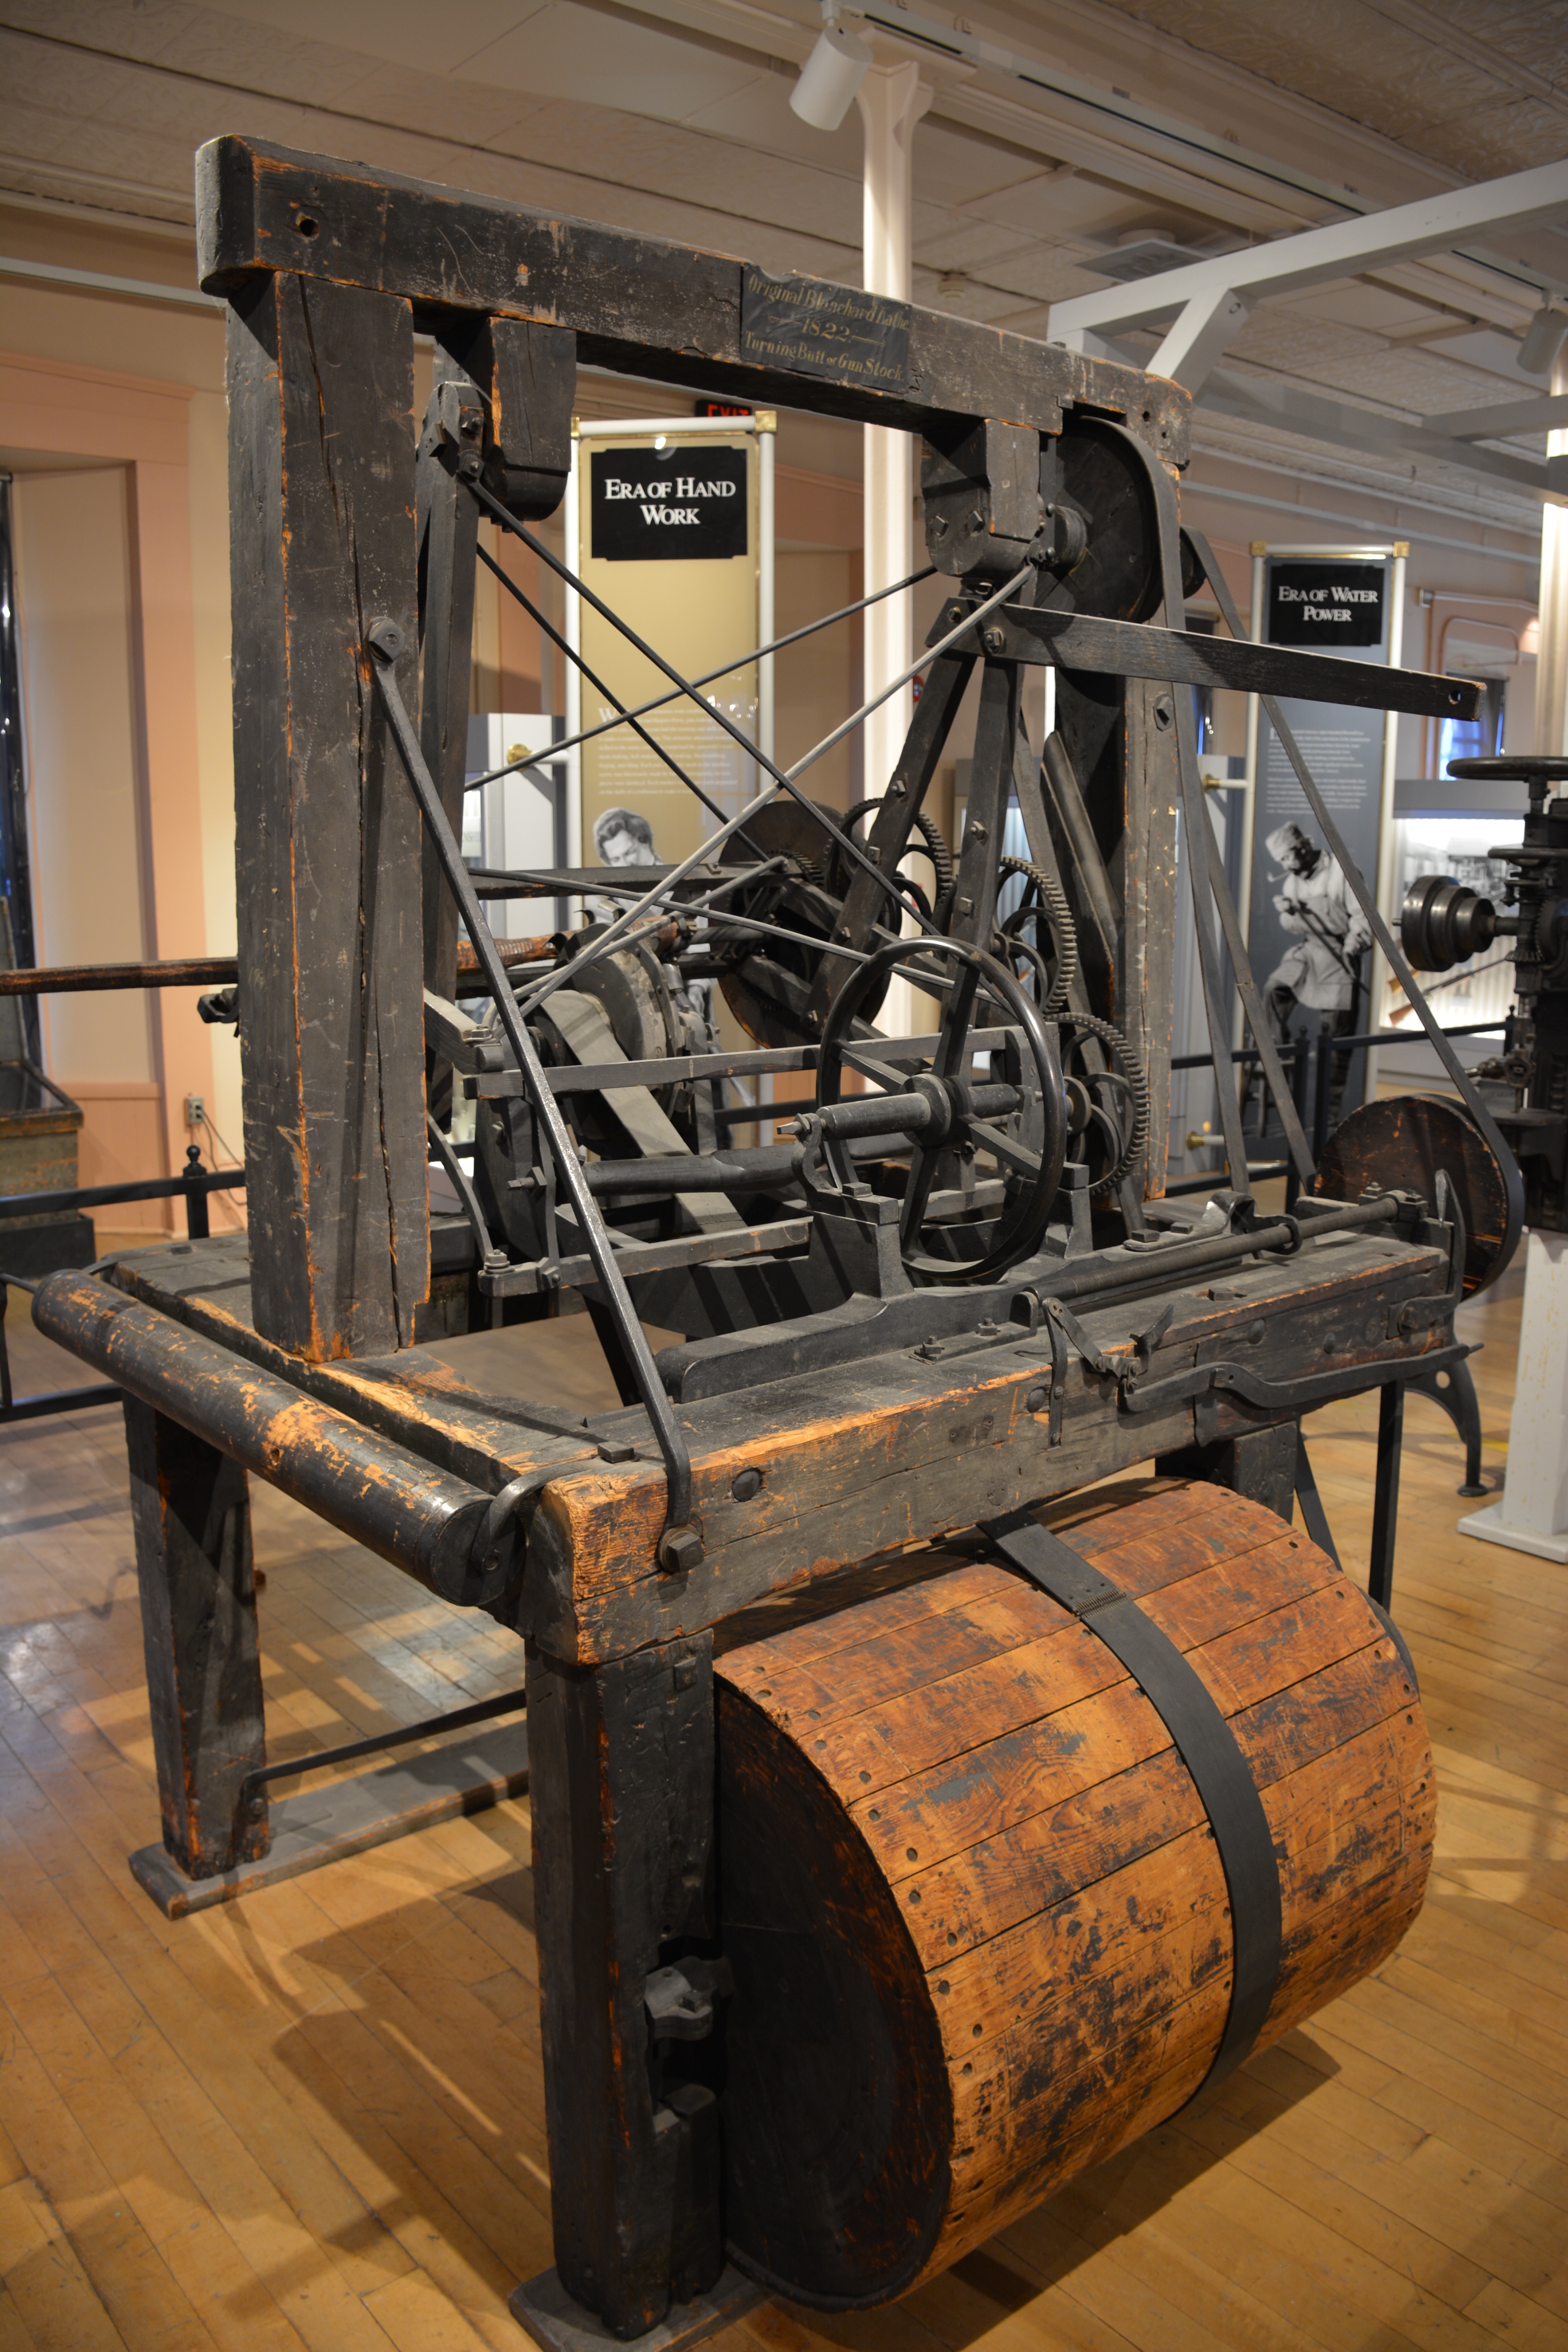
Before any stock is turned, someone makes the master — a positive, full-size replica of the finished stock’s exterior, originally an iron pattern (some accounts say wood was also used). This is the expensive, skilled, one-time operation, and it is the economic hinge of the whole machine: because the master is costly to make and impossible to change quickly, the lathe only pays off against a fixed design produced in volume — armory musket stocks — and is hopeless for one-offs or frequent design changes.1 Everything downstream assumes the master already exists and is correct, because any error in the master reproduces into every stock made from it.
8.2 Step 1: Mount and Register Model and Blank
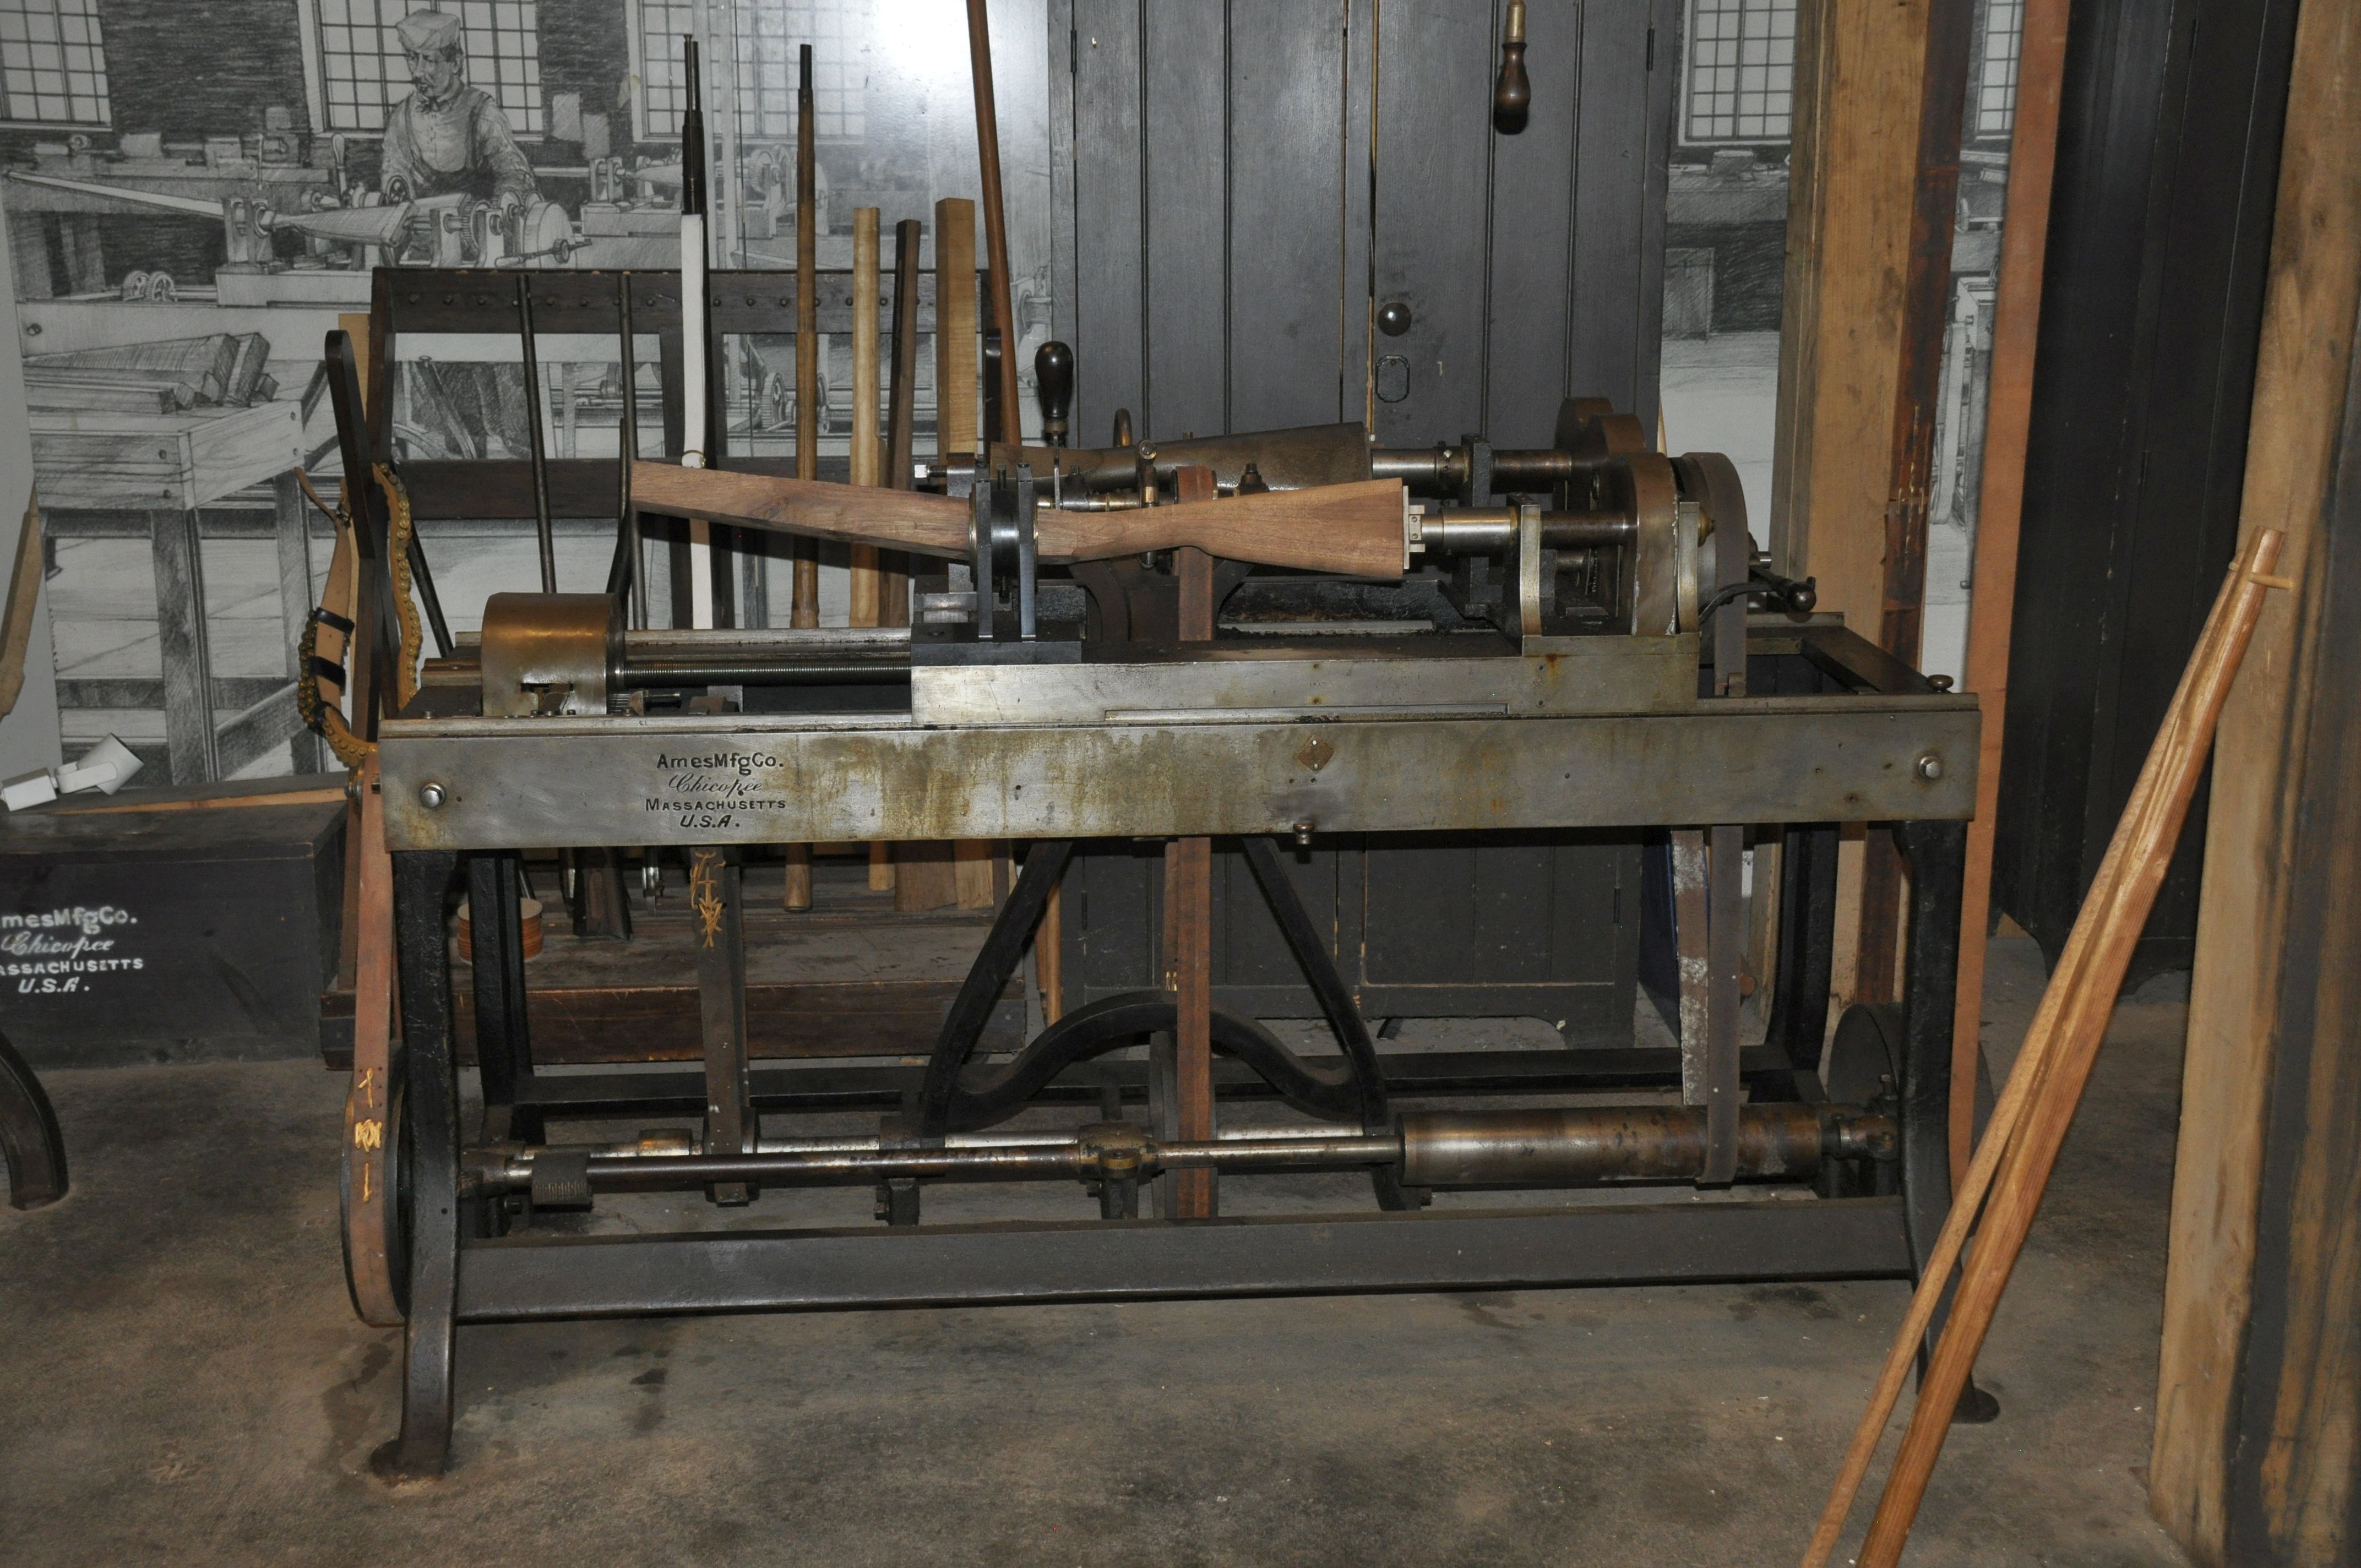
The iron master goes on one spindle; a rough-sawn walnut blank, cut oversize in every dimension, goes on the parallel spindle. Both are centered and secured, then indexed so corresponding stations line up — the master’s muzzle-end registering with the blank’s muzzle-end, the master’s butt with the blank’s butt, and the rotational clocking matched so twelve-o’clock on one is twelve-o’clock on the other. This registration is the single most error-prone setup step: any longitudinal or rotational misregistration between master and blank transfers directly into the copy. It is the period equivalent of zeroing your work offsets, and it is unforgiving in the same way.
8.3 Step 2: Engage the Tracer
The tracer (friction) wheel is brought into contact with the master’s surface at the starting end (breech or muzzle). Because the tracer and the cutter share the pivoted swing frame, seating the tracer on the master simultaneously positions the cutter wheel at the corresponding station of the blank — just clear of, or just biting into, the wood. At this instant the machine is “zeroed”: the frame is resting at whatever radial position the master’s starting contour dictates.
8.4 Step 3: Rotate — Slowly for the Work, Fast for the Cutter
The line shaft is engaged. The master and blank turn together and slowly through full rotations; the cutter wheel spins fast on its own drive off the same shafting (different pulley ratio). With the carriage held at the starting station, the cutter removes wood all the way around that cross-section, its depth governed instant-by-instant by where the master pushes the tracer. The slow work rotation is deliberate: it lets the cutter take many closely-spaced cuts per unit of length as the carriage later advances, which is what builds up a continuous profiled surface rather than a coarse spiral.
8.5 Step 4: Traverse — the Roughing Pass
The carriage feeds longitudinally down the length of the work — station by station, or slowly and continuously — so the tracer scans the master end to end and the cutter prints that scan onto the blank. Given the “rough ridges” that NPS records the machine leaving,2 this was almost certainly run as one or a small number of roughing passes that leave the near-net shape, not an iterative rough-then-finish sequence on the machine itself. Actual finishing was a separate hand operation (Step 6). In your terms: this is the roughing toolpath, and there is no finishing toolpath — the finishing “toolpath” is a man with a scraper.
On feeds and speeds: this is exactly where the sources go silent. No period feed rate, spindle RPM, or depth-of-cut figure was found in any source consulted, and this volume will not fabricate them. If you were reconstructing the operation, you would set the work rotation slow, the cutter fast, and the carriage feed by the surface finish and tear-out the walnut actually gave you — dialing pulley ratios by result, which is very likely how a period operator did it too.
8.6 Step 5: Grain, Tear-Out, and Knots (Reasoned, Not Sourced)
This step is inference from woodworking physics, not from any period source, and is presented as such. Walnut stock blanks run grain roughly along the stock’s length, but with substantial local deviation around the wrist — the thin grip section that is the classic weak point of any gunstock, hand- or machine-cut, because the grain cannot follow the wrist’s curve without running across it. A rotary multi-blade cutter taking net-shape cuts at speed will tear grain on the downhill side of interrupted cuts — cutting against the grain direction — exactly as any rotary wood tool does. Around the wrist, where grain direction swings relative to the surface, tear-out risk is highest. Knots are worse: no period source addresses knot handling, but a knot meeting the cutter behaves as with any woodworking tool — elevated tear-out and possible cutter chatter or damage. The reasonable assumptions are that (a) armory blank selection deliberately avoided knots in the wrist and high-stress zones, and (b) operators simply accepted more tear-out and more hand cleanup wherever grain fought the cut. None of this is documented for the machine specifically; it is generic and labeled so.
8.7 Step 6: Hand Finishing
Off the machine, the stock goes to the bench. The characteristic rippled, faceted marks left by the multi-blade cutter wheel are removed with scrapers and sandpaper — the finishing step NPS explicitly documents.2 Only after this does the stock proceed into the separate inletting-machine sequence (Volume 4’s fourteen machines — barrel bedding, lock bedding, buttplate inletting, and the rest) and, ultimately, the hand fitting of metal components. The division of labor is the same one you use: the machine gets you to near-net; a human closes the last thousandths and the surface.
8.8 Step 7: Safety — the Part That Would Fail a Modern Audit
Worth stating because it is a live consideration if you ever build a working replica. The cutter wheel carried “a score of sharp cutters” and spun at whatever the line shaft delivered — an open, unguarded rotating edge tool directly adjacent to where the operator worked to load, unload, and monitor. By any modern machine-guarding standard this is a serious point-of-operation hazard: entanglement and laceration/amputation risk from loose clothing, hands, or hair near the wheel, plus flying chips off the cutter. No period accident records were located — this is inferred from the mechanism, not a claim about documented incidents or about the machine’s actual safety record. If you reproduce one (Volume 9), guard the cutter, keep the drive de-clutchable, and treat the running machine with the respect you would give an unguarded shaper, because that is essentially what it is.
8.9 The Whole Cycle, at a Glance
- Make the master once (iron; skilled; the economic hinge).
- Mount and register master and blank — the unforgiving setup step.
- Seat the tracer; the cutter self-positions on the same frame.
- Rotate: work slow, cutter fast.
- Traverse: one or a few roughing passes; ridges expected.
- Off-machine hand finish with scrapers and sandpaper.
- Into the inletting line, then metal fitting.
That is the operation, as faithfully as the sources allow — reconstructed where they are silent, and flagged wherever the reconstruction outruns the record.
8.10 Bibliography
Footnotes
-
George Iles, Leading American Inventors (1912) — master-pattern and general operation context. Secondary. ↩
-
NPS, Springfield Armory NHS, “Woodworking at Springfield Armory” — the “rough ridges requiring hand finishing with scrapers and sandpaper” description. https://www.nps.gov/spar/learn/historyculture/sa-woodworking.htm ↩ ↩2
Comments (0)